
To help you do this we will use an example which makes "Write" start up in a new way.
The word processor Write, which comes with Windows, has no facility to allow you to open it maximized. In addition, the easy way to adjust margins and set tabs with the mouse requires that the ruler is displayed, but this must be done manually each time you start Write. The example below will allow you to open Write maximized and with its ruler displayed.
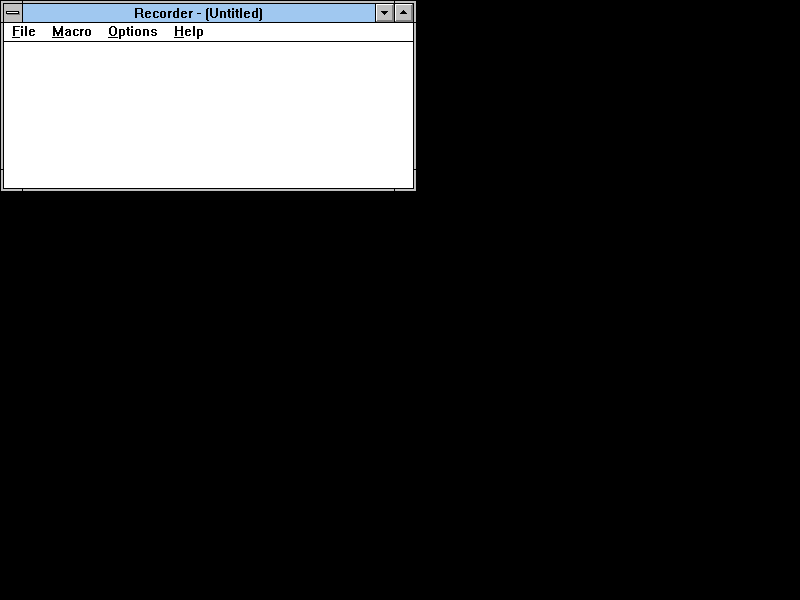
First, go to Program Manager and start Recorder. The Recorder window appears.
| NOTE: The general principal is to open both the application for which you want a macro and Recorder. Then make that application the active window immediately before going to Recorder to start your recording. As the application we are working with is the Program Manager itself, there is no special window switching required in this case. |
| NOTE: Using Ctrl+Break is the easiest way to stop macro recording. If you do not do this then you must have the recorder icon visible to click on it to end recording. |
Select the Options menu and make sure there is a tick next to Control + Break Checking. Now select the Macro menu and choose Record. The following window appears:
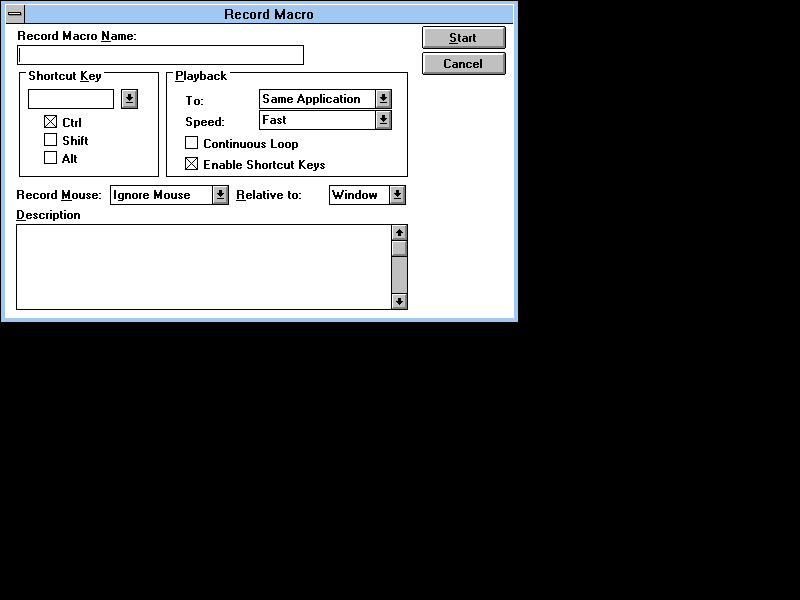
Type "Start Write Maximized with Ruler" in the Record Macro Name text box. Ensure that the playback box options are set to "Same Application", "Fast" and "Continuous Loop" is NOT checked. Ensure that "Record Mouse" is set to "Ignore Mouse". Everything else can be ignored for this demonstration. Look at the notes on the Record Macro Dialogue for further information about the options here.
Click the Start Button. You will be returned to the previous active application and the Recorder window will minimize. (This is why you should always switch to Recorder from the application you are about to generate the macro for.) In our case we find ourselves in the Program Manager. As we are not going to be able to use the mouse we will need to make the following keystrokes:
| [Alt-f] | To open the File Menu | |
| r | To select Run | |
| write[Enter] | To enter the program name to be run | |
| [Alt-spacebar] | To open the control box menu | |
| x | To select Maximize | |
| [Alt-d] | To open the document menu | |
| r | To turn the ruler on | |
| [Ctrl-Break] | To finish recording |
This last action brings up another Recorder dialogue. (As an alternative we could have clicked on the flashing Recorder icon.)
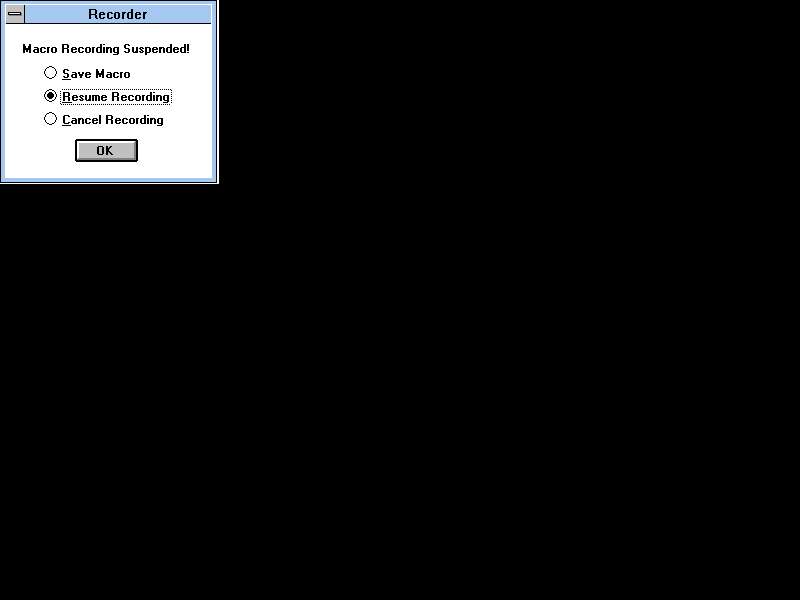
You could do anything we want at this point. It won't be recorded. For example, you could go to File Manager to check the directory of a file so that we could type it in full on resuming recording. In this case, click on Save Macro and then on OK!
You now have a macro which you can use for as long as Recorder is running. Almost certainly you will want to save it for future use. It is probably best to read the following section, Creating Macro Libraries, to find out how, before you go on to find out about using macros!
For further ideas see Tips and Troubleshooting
[ Top of Page ]
Once you have saved a macro, if you return to the Recorder window you see the macro listed there along with any others which may exist. These will be listed in the order you created them. Depending on the selections you made when you recorded them, or any adjustments you have made using the Macro Properties dialogue (Select the Properties item on the Macro Menu), they may be listed by name, shortcut or both. If you close down Recorder these macros will be lost.
If you want to be able to use these macros in future sessions you will now need to save the list as a Recorder file. This is done using the conventional windows techniques ("Save" or "Save As" on the File Menu). By default Recorder files have the .REC extension. It would be normal practice to create all your macros related to one application, or process which you undertake regularly, in a single recorder file. In this way you can build up groups of related macros into comprehensive libraries.
For further ideas see Tips and Troubleshooting
[ Top of Page ]
At its simplest level, to run a macro you need to have Recorder running and the appropriate macro file loaded or the macro freshly created, you can then do one of three things:
One step up from this is to create a Program Manager icon for each Recorder file, perhaps alongside the icon for the program with which it works. If you [shift]-double click the Recorder icon it will run minimised. You then have all the macro hot keys available for you when you start the main program. Remember that regardless of the program you are working in when operating the macro file hot keys the macro will work (providing all the right programs are running with their windows open or minimized as required by the macro).
A further technique is described in Tips and Troubleshooting for starting macros automatically.
[ Top of Page ]